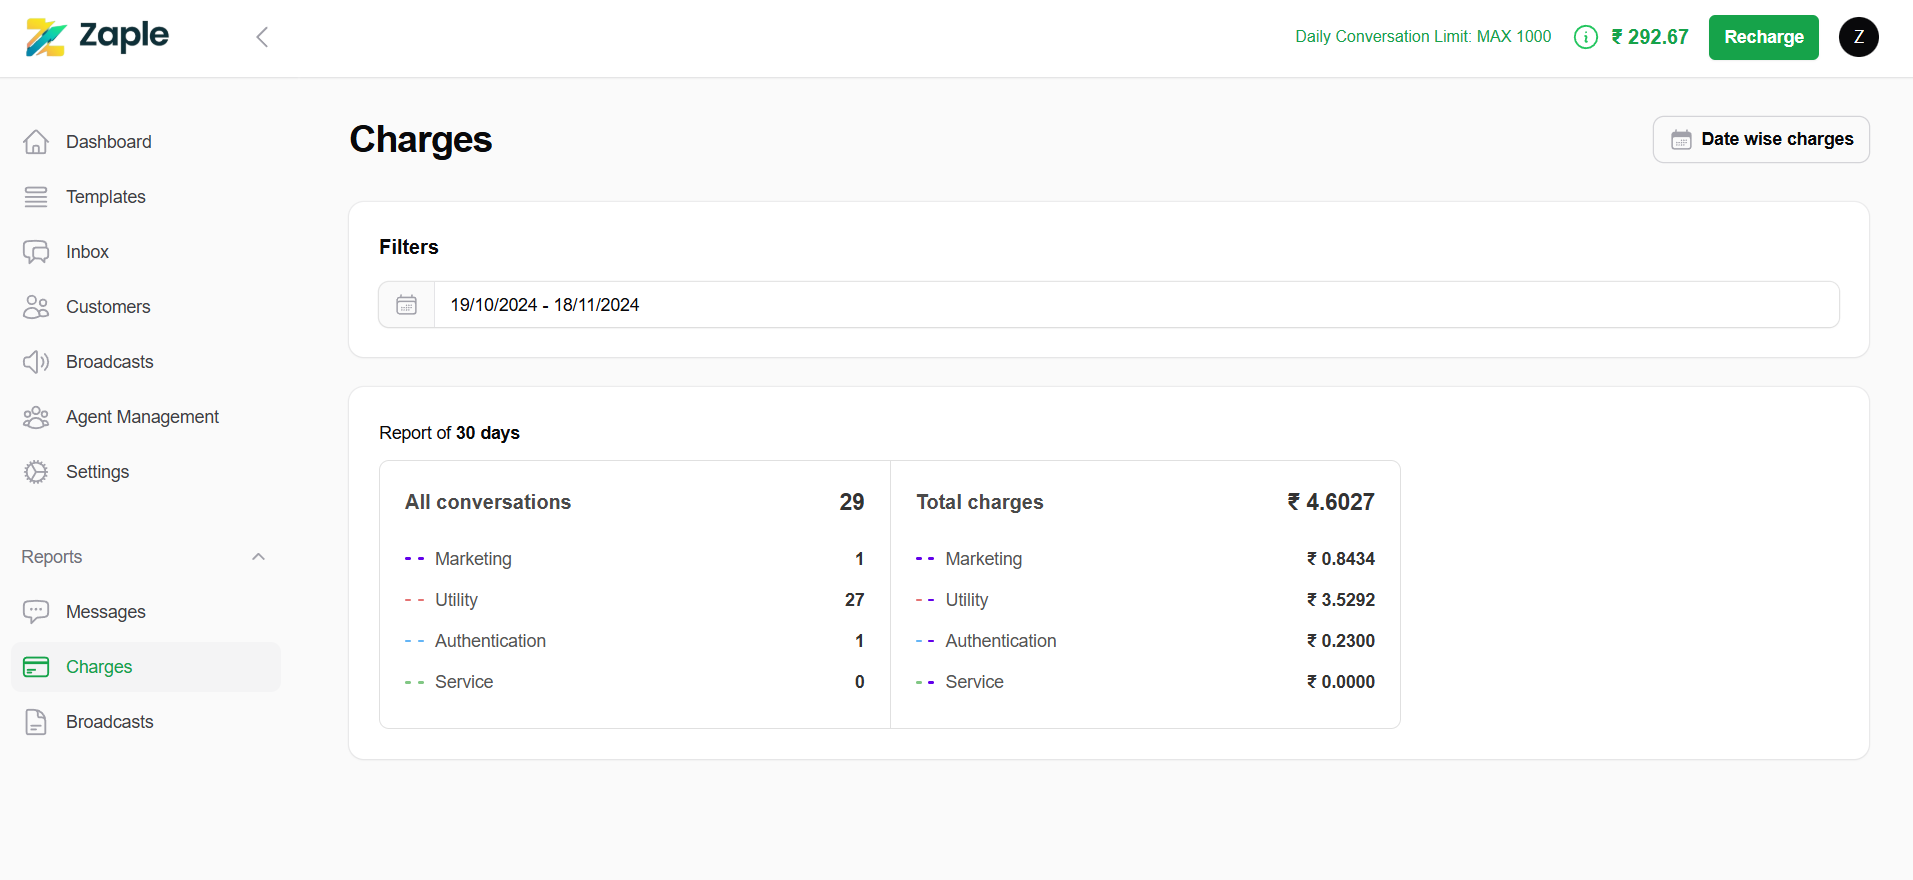
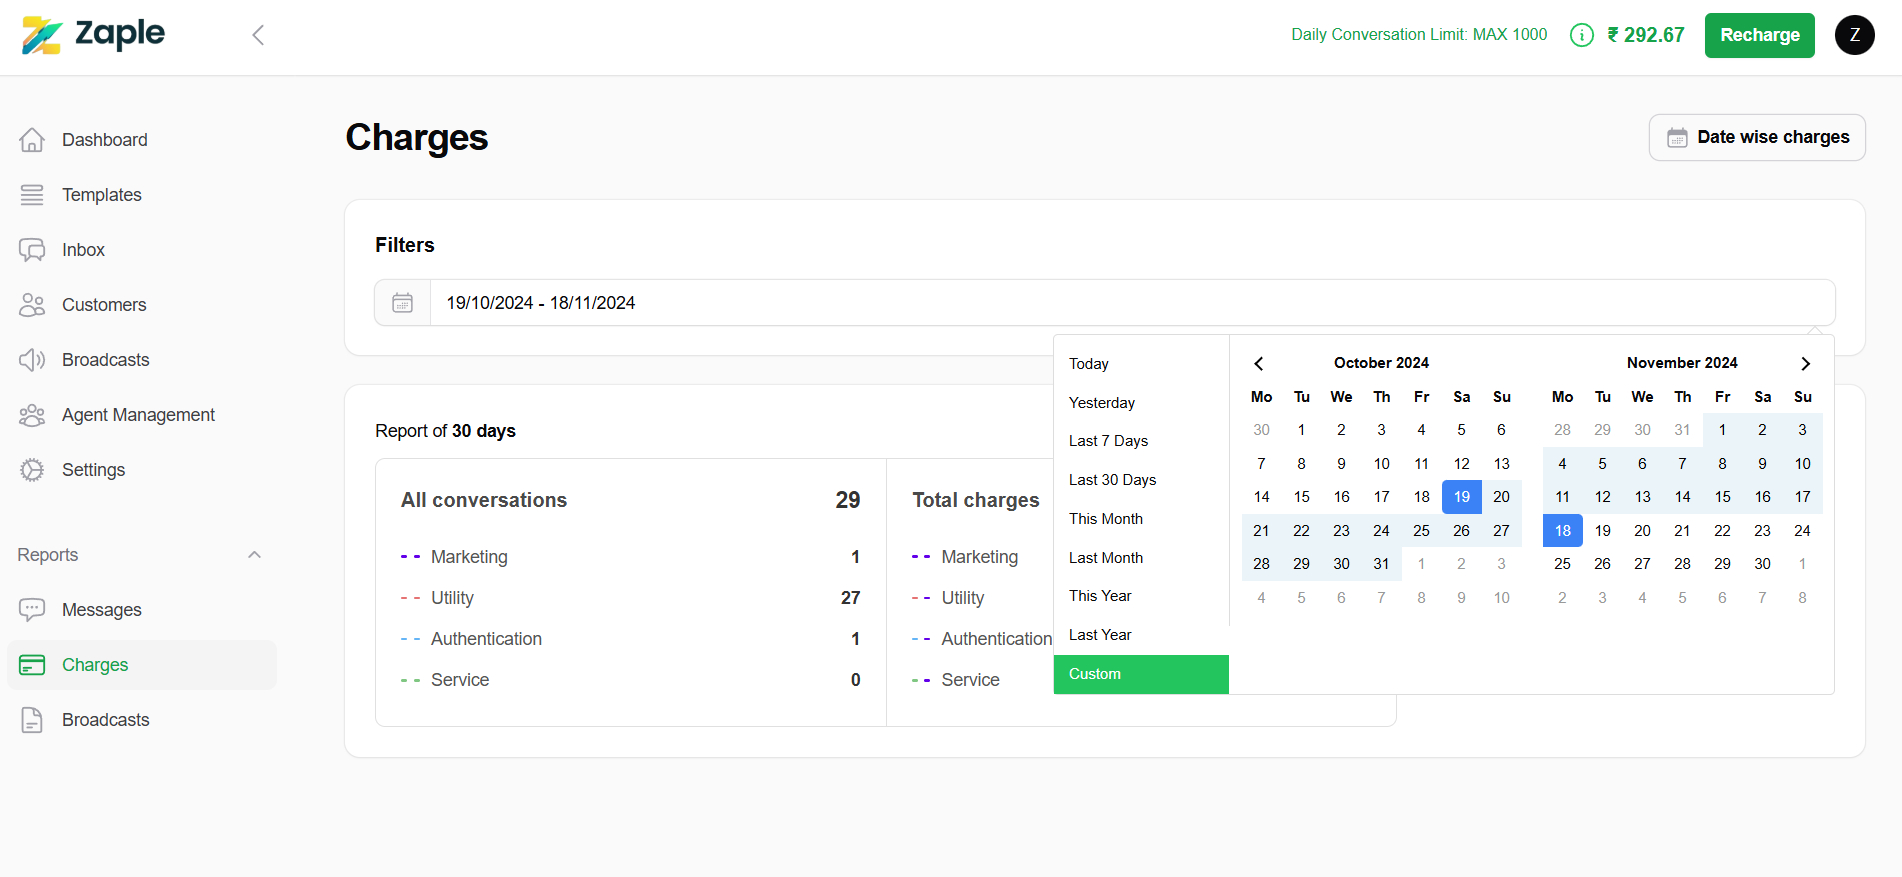
Locating the “Date Wise Charges” Button:
1.Navigate to the “Charges” Section: First, ensure that you are in the appropriate section of the interface, labeled “Charges”. This section is usually dedicated to displaying all information related to the charges incurred for the services or conversations during a specific period.
2.Find the Button on the Right Side: Within the “Charges” section, look towards the right side of the screen. You should be able to spot a button labeled “Date wise charges”. This button is designed to allow you to view and analyze charges based on individual dates, providing a more granular view of your charge data.
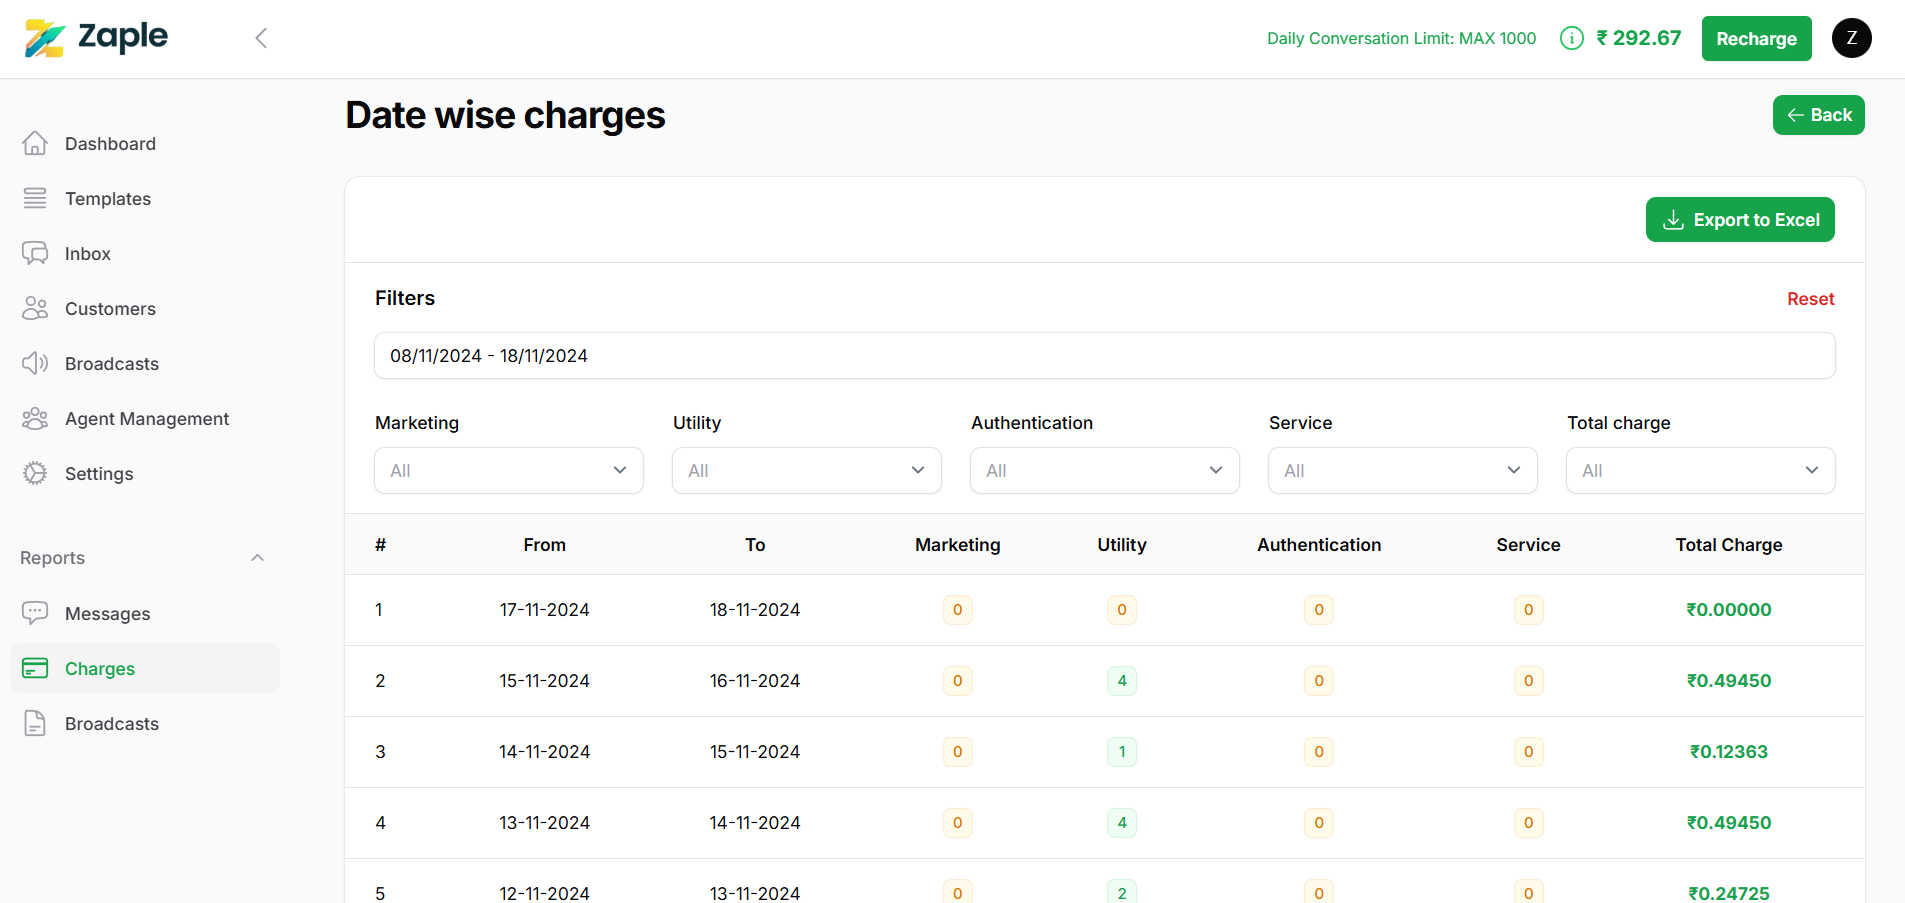
3.Click on the “Date wise charges” Button: Once you have located the button, click on it to proceed. This will typically open a detailed report or a new view where you can examine the charges broken down by specific dates, making it easier to understand how charges fluctuate day by day within the selected time range.
A Complete Guide to Analyzing Message Charges
Zaple is a powerful tool designed to help you manage and analyze message charges with ease. This step-by-step guide will walk you through the process of using the filtering options available on the Date Wise Charges page for different types of messages.
Accessing the Filters
1. Navigate to the “Charges” Section:
– From the left-hand menu on the Zaple dashboard, locate the “Reports” section.
– Click on the “Charges” option to open the Date Wise Charges page.
2. Access the “Date Wise Charges” Interface:
– Once on the Charges page, you’ll find the filters section at the top, along with a table displaying relevant data such as message counts, categories, and charges.
Setting the Date Range
1. Locate the Date Range Selector:
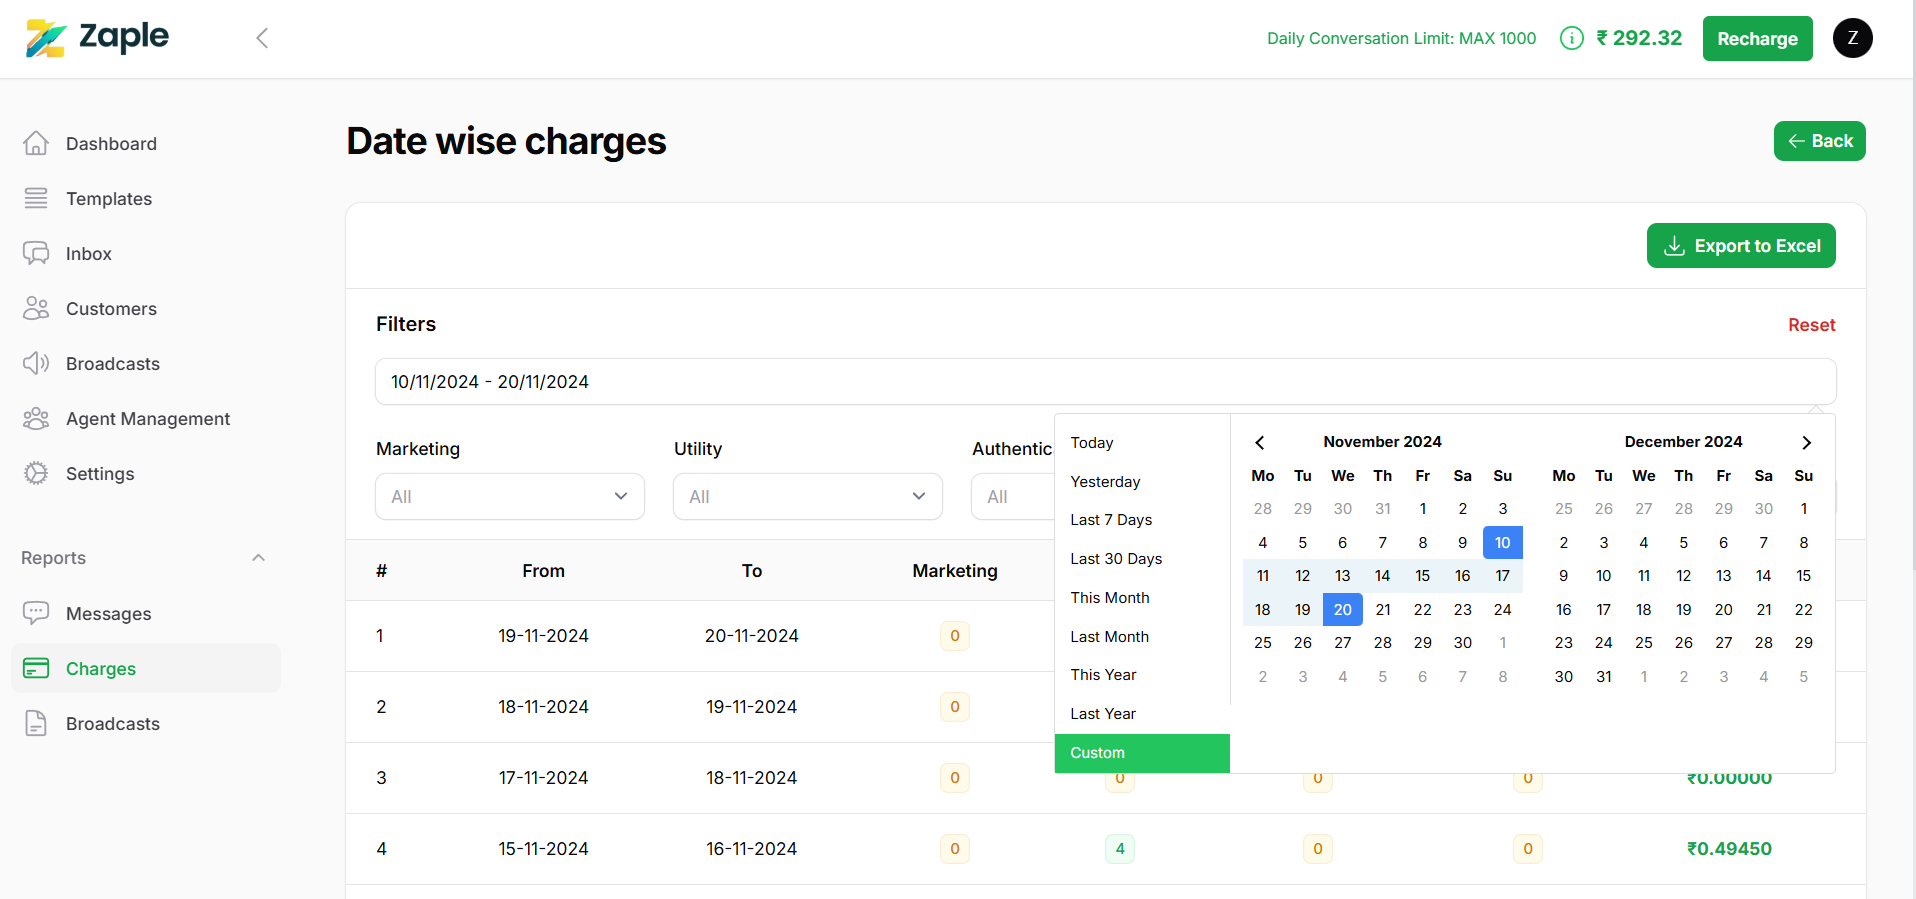
– At the top of the filters section, you’ll see a date range selector. This tool allows you to filter data based on a specific time period.
2. Choose the Start and End Dates:
– Click on the date range selector and input your desired start date and end date.
– The table below will update automatically to display charges and messages sent within the selected timeframe.
Filtering Message Categories
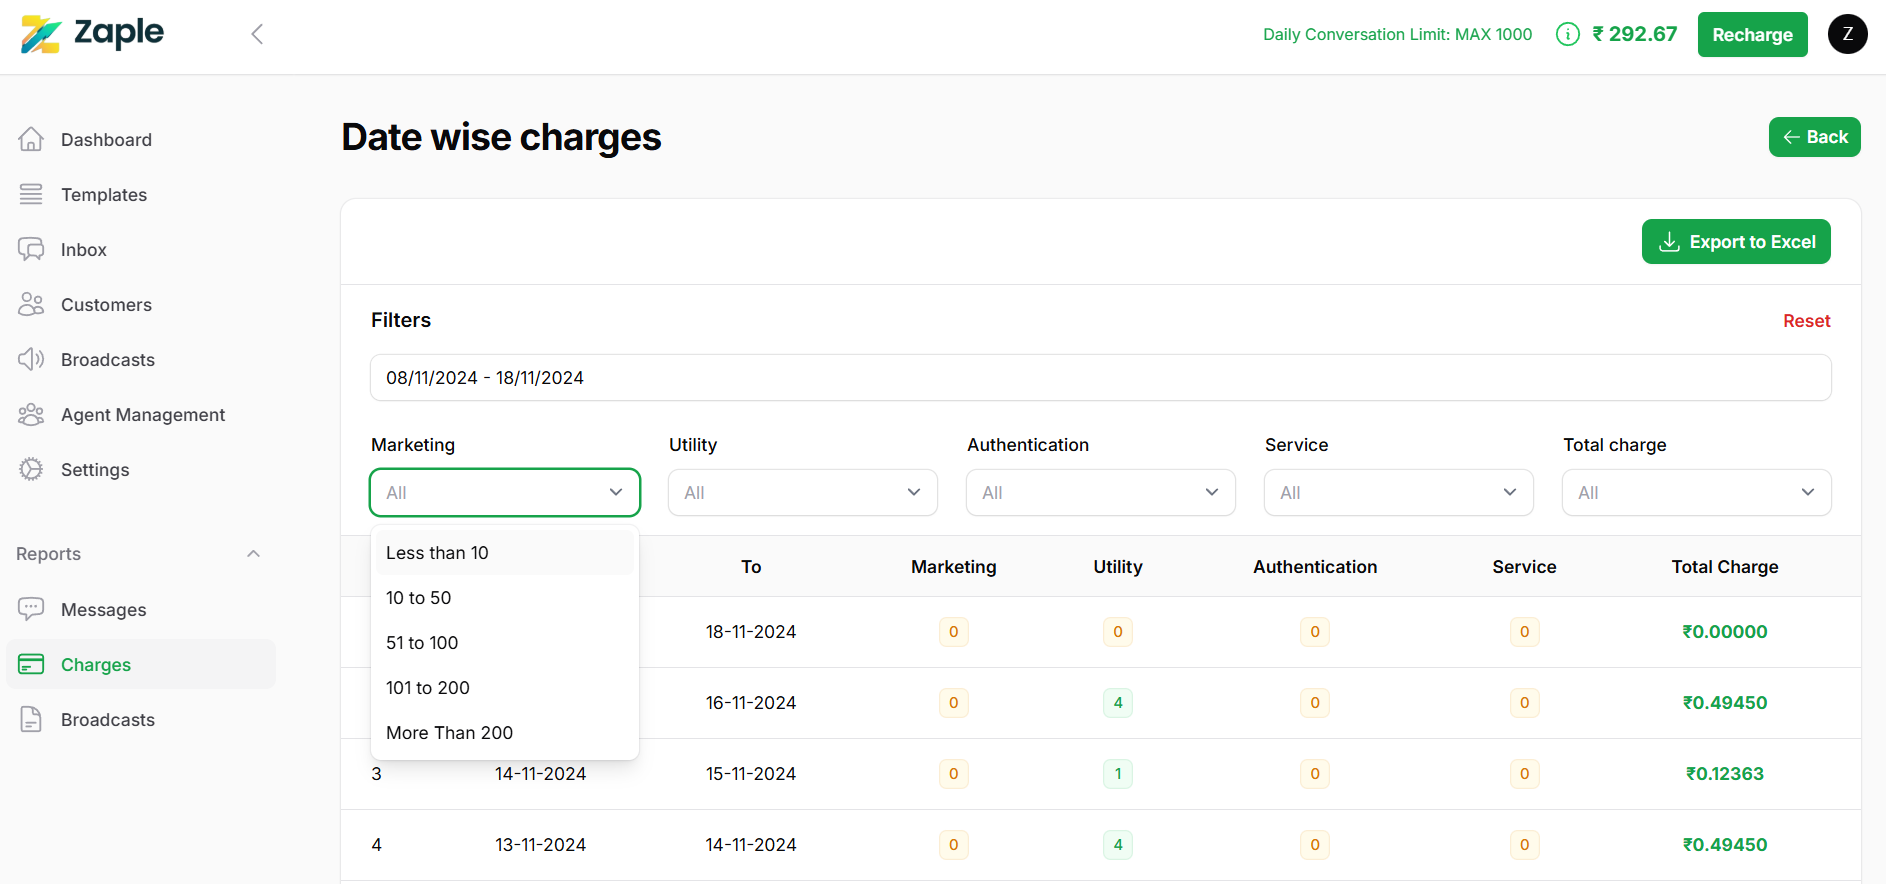
1. Locate the Filter for the Desired Message Category:
– In the filters section, you will find dropdown filters for each message category: Marketing, Utility, Service and Authentication. These filters are clearly labeled for easy identification.
2. Open the Dropdown Menu:
– Click on the dropdown filter for the message category you want to filter. This will reveal a set of predefined options.
3. Filter Options Explained:
The options in the dropdown filter include:
– All: Displays all messages for the selected category without applying any filter.
– Less than 10: Filters messages where the count is below 10.
– 10 to 50: Displays messages that fall within this range.
– 51 to 100: Filters messages between 51 and 100.
– 101 to 200: Displays messages in this larger range.
– More than 200: Shows only messages exceeding 200.
4. Select a Range:
– Click on the range that best fits your requirements. For example:
– To view smaller batches, select Less than 10.
– For larger batches, choose options like More than 200.
– The table below will automatically update to reflect your selection.
Viewing the Filtered Results
– After setting the filters, the table below will display filtered results.
– The table contains the following columns:
– Date: The range of dates selected.
– Marketing, Utility, and Authentication Counts: The number of messages sent in each category.
– Service Counts: Additional services related to the messages.
– Total Charges: The total cost for the messages sent on each date.
Filtering Total Charges
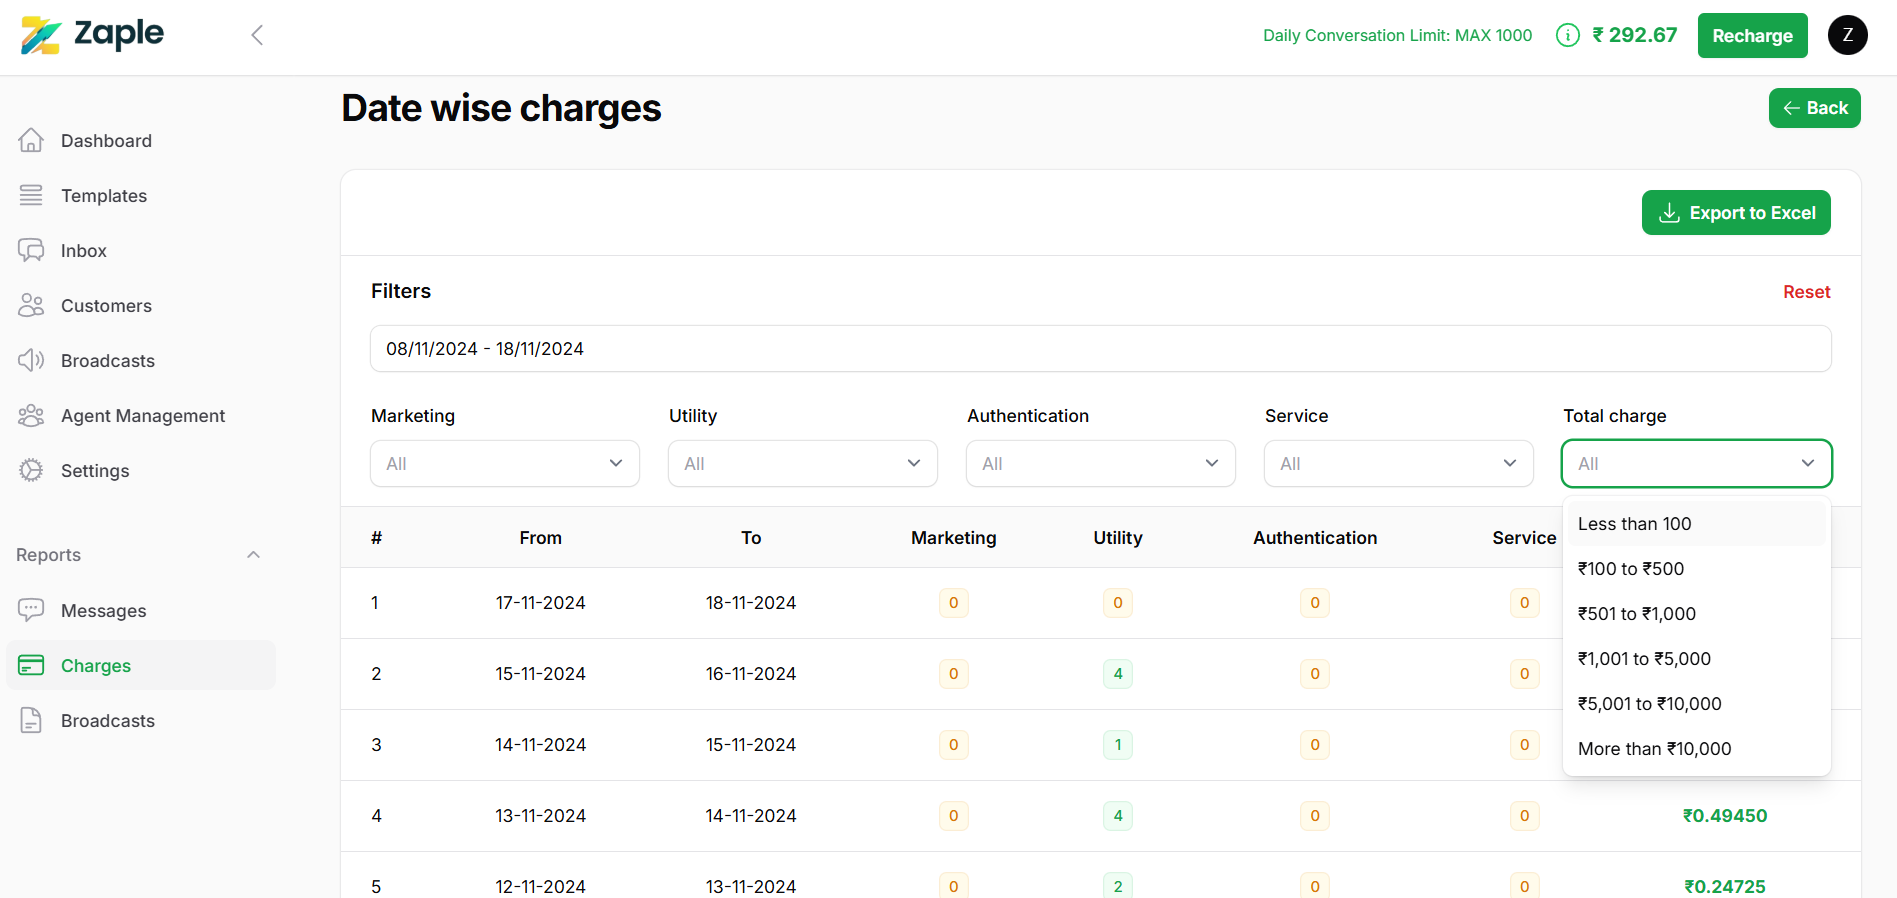
1. Locate the “Total Charge” Filter:
– In the filters section, find the “Total Charge” filter, which is positioned on the far right.
2. Open the Dropdown Menu:
– Click on the Total Charge dropdown filter to reveal the following options:
– All: Displays data for all total charge ranges.
– Less than 100: Filters data with total charges below ₹100.
– ₹100 to ₹500: Displays data where total charges fall within this range.
– ₹501 to ₹1,000: Filters for charges between ₹501 and ₹1,000.
– ₹1,001 to ₹5,000: Displays data for charges within this range.
– ₹5,001 to ₹10,000: Filters for larger charges in this range.
– More than ₹10,000: Shows only entries with total charges exceeding ₹10,000.
3. Select the Desired Range:
– Click on the range that matches your requirements. For example:
– Choose Less than 100 to view smaller charges.
– Select More than ₹10,000 for large-scale operations.
– The table below will instantly refresh to reflect your selection.
Exporting Filtered Data
1. Locate the Export to Excel Button:
– After setting your filters, find the “Export to Excel” button located at the top-right corner of the filters section.
2. Export the Data:
– Click the button to download an Excel file containing the filtered data.
– Use this file for further analysis, record-keeping, or reporting.
Resetting the Filters
1. Find the Reset Button:
– To clear all applied filters, click on the “Reset” button, which is located next to the filters section.
2. View Unfiltered Data:
– Resetting the filters will reload the page to display the complete, unfiltered data set for all categories and date ranges.
With these step-by-step instructions, you can easily manage and analyze charges for Marketing, Utility, Service and Authentication messages in Zaple. The filtering tools provide flexibility to focus on specific data, while the export and reset options simplify data handling. By mastering these features, you’ll streamline your workflow and gain better insights into your message charges.
